Hello, I am here to help you give your desk a fresh new look with laminate. Whether you want to renovate your old desk or create a stylish workspace, applying laminate is a fantastic option. In this step-by-step guide, I will walk you through the process of putting laminate on a desk, from surface prep to the final trim.
How to Put Laminate on a Desk
- Applying laminate to a desk can revitalize and update its appearance.
- Prepare the surface by addressing imperfections and cleaning thoroughly.
- Measure and cut the laminate to fit the desk surface.
- Apply contact cement to both the laminate and desk surface.
- Adhere the laminate to the desk, trim the excess, and add edging for a polished finish.
Step 1: Surface Prep
Before applying laminate to your desk, it’s crucial to prepare the surface properly. Follow these steps to ensure a smooth and long-lasting finish:
- Scrape or grind off any bumps or imperfections on the desk surface. This will help create a level and even base for the laminate.
- Fill in any divots or holes with wood filler. Smooth out the filler and let it dry completely according to the manufacturer’s instructions.
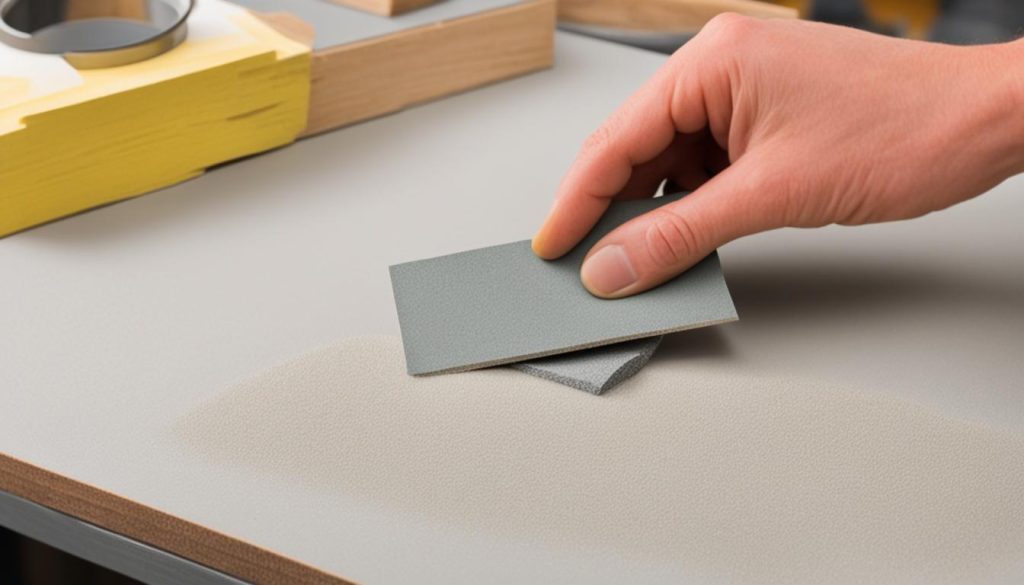
- Use sandpaper to abrade the entire desk surface. This step promotes better adhesion between the laminate and the desk.
- Clean the surface thoroughly with mineral spirits to remove any dust or debris. This will ensure a clean and smooth application.
By taking the time to properly prepare the desk surface, you’ll create an ideal foundation for the laminate and ensure a professional-looking and durable finish.

Why is Surface Prep Important?
Surface prep is a critical step in the laminate desk renovation process. It helps to remove any imperfections and provides a clean, smooth surface for the laminate to adhere to. By preparing the desk surface properly, you’ll ensure a strong bond between the laminate and the desk, resulting in a durable and long-lasting finish.
Step 2: Cut Laminate to Size and Clean Underside
To proceed with the laminate desk DIY project, the next step is to cut the laminate sheet to fit your desk’s surface and ensure a clean underside for a strong bond. Follow these steps:
-
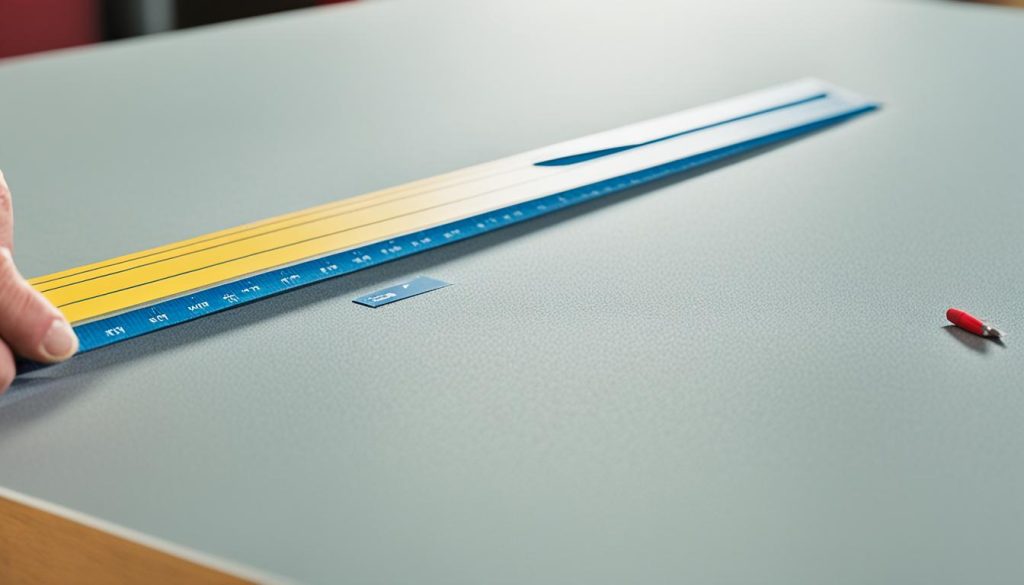
Measure the dimensions of your desk surface and transfer the measurements onto the laminate sheet. Make sure to leave an extra inch on each side to allow for trimming later.
-
Using a straight edge and a utility knife, carefully cut the laminate along the measured lines. Take your time to ensure clean and precise cuts.
-
Once you have cut the laminate to size, it’s essential to clean the underside of the sheet. Use a mild cleaner or rubbing alcohol to remove any dust, dirt, or grease. This will promote a better bond between the laminate and the desk surface.
By cutting the laminate to the correct size and cleaning the underside, you are preparing the material for a successful application onto your desk. This will help you achieve a professional-looking desk makeover with laminate.

Step 3: Apply Contact Cement to Both Surfaces
Now that you have prepared the surface and cut the laminate to size, it’s time to apply the contact cement. This essential step ensures a strong and durable bond between the laminate and the desk.
For this task, I recommend using a low-VOC contact cement that is suitable for laminate applications. This type of adhesive provides excellent adhesion while minimizing harmful fumes.
Before applying the contact cement, it’s important to work in a well-ventilated area and wear gloves for protection. This will help ensure your safety during the installation process.
- Start by applying a thin and even coat of contact cement to the underside of the laminate sheet. Use a brush or roller to spread the adhesive, ensuring that you cover the entire surface.
- Next, apply another thin and even coat of contact cement to the desk surface. Be sure to extend the adhesive to the edges and corners.
- Wait for the contact cement to dry according to the manufacturer’s instructions. This typically takes about 15-30 minutes.
During the drying time, the contact cement becomes tacky and ready for bonding. Avoid touching the adhesive surfaces to prevent contamination.
Once the contact cement is dry, it’s time to bond the laminate to the desk surface. Take extra care during this step to ensure proper alignment and avoid trapping air bubbles.
Using dowels or strips of material, float the laminate above the desk surface and gradually lower it into place. This technique helps prevent immediate contact and allows for adjustments if necessary.
Remove the dowels or strips and press down firmly across the entire surface of the laminate to secure the bond. You can use a roller or a clean cloth to apply even pressure.
Finally, trim the excess laminate using a router with an edge trim bit for a clean and professional finish. Take your time and move the router in a steady and controlled manner to avoid any mishaps.
Congratulations! With the contact cement applied and the laminate securely bonded to the desk, you are one step closer to achieving your desired laminate desk refinishing. In the next step, we will explore how to trim the edges and add a finishing touch to your refurbished desk.
Step 4: Adhere the Laminate to the Desk and Trim Edges
Now that the contact cement has dried, it’s time to carefully position the laminate onto the desk surface. To ensure an even placement, I recommend using dowels or strips of material to float the laminate above the surface and then gradually lower it into place.
Once the laminate is in position, remove the dowels and apply pressure across the entire surface. This will help create a strong bond between the laminate and the desk. Make sure to use even pressure and work from the center outwards.
After adhering the laminate, it’s important to trim the excess. To achieve clean edges, I suggest using a router with an edge trim bit. This powerful tool will effortlessly remove the excess laminate, leaving you with a professional and polished finish.
Lastly, to enhance the overall look of your newly laminated desk, consider adding edging. The edging will not only provide a decorative touch but also protect the edges of the laminate from wear and tear. Choose a style that complements your desk and carefully apply it, following the manufacturer’s instructions.


